With BBQs hotting up across the nation during lockdown, we wanted to give you some butcherŌĆÖs burger tips. YouŌĆÖre obviously free to serve pretty much any burger you want, and let's be honest, no one is coming round to judge your food any time soon. But even your family donŌĆÖt want to eat a frozen supermarket burger padded out with lots of nastiness. If youŌĆÖre serious about flavour, or you╠²want to cook up a treat for yourself and the family, then you need to get serious about burgers!
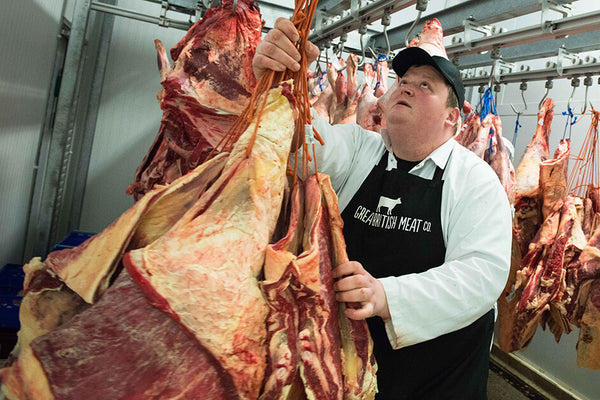
Cheaper beef cuts work much better in burgers to give maximum flavour. The key is getting the optimal beef-to-fat ratio. ThatŌĆÖs what a butcher spends years and years perfecting.
The most important part of any burger is the meat. This sounds ridiculously obvious, but it really is true. A lot of self-appointed burger experts will try and dazzle with fancy burger blends. The more expensive a burger is, chances are itŌĆÖs made with more expensive beef. $150 plus burgers are almost certainly made using fillet steak, probably from Kobe beef, or other high end, celebrated beef cattle. TheyŌĆÖre only expensive because of the luxury and scarcity. ItŌĆÖs basically a burger for people who want to pay $200 for a burger. Probably in Las Vegas or Dubai. Each to their own, but for burgers theyŌĆÖre the wrong cuts of meat, and a total waste of money.
Cheaper beef cuts work much better in burgers to give maximum flavour. The key is getting the optimal beef-to-fat ratio for your palette and personal taste. ThatŌĆÖs what butcherŌĆÖs spend years and years perfecting. If you have a local butcher, theyŌĆÖll help you create a blend to your specifications, but most are pushed for time right now, so try and be patient.
So hereŌĆÖs our top burger tips to look out for when grilling at home during lockdown;
Meat Cuts
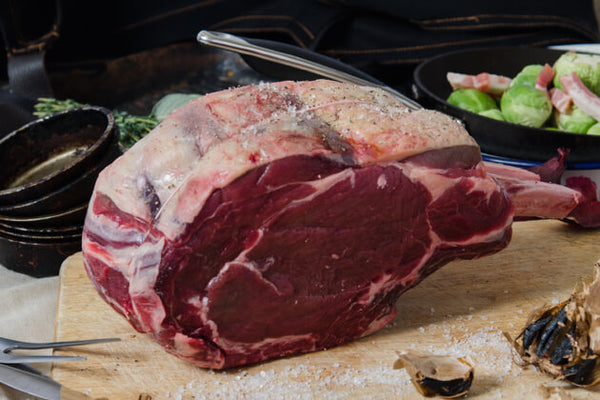
As we mentioned, cheaper cuts tend to make the best burgers. Fact. Much of it comes down to personal preference, but in general, you want to be looking for harder working muscles like chuck or flank steak. Cuts like this tend to have more myoglobin in them, which is the iron-oxygen binding protein thatŌĆÖs responsible for giving beef its red colour and ŌĆśbeefyŌĆÖ flavour. More importantly, they also have a naturally optimal meat to fat ratio for burger making. More luxurious cuts like rump or ribeye, can undoubtedly be used, but youŌĆÖll have to play around with fat ratios.
Our two favourite cuts for making burgers areŌĆ”
CHUCK╠²
Chuck steak╠²is the main cut we use for our Premium and GastoBurgers. ItŌĆÖs found at the top of the shoulder in the cattle, and has lovely tissues of fat running throughout, which baste the meat when cooked, to give it a natural juiciness. ItŌĆÖs got a lovely steak-tasting flavour, but as itŌĆÖs got more texture from the juicy fat, the steak taste doesnŌĆÖt overpower things.╠²
BRISKET
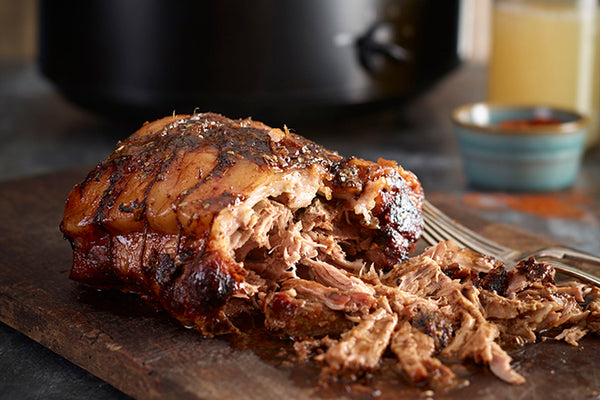
Popular with our trade customers (back in the days before lockdown!)╠²brisket is from one of the most used muscles, which is why it's so revered for slow-cooking BBQ. Again it has a natural fat-to-beef ratio and has a bold taste and flavour. ItŌĆÖs not to everyoneŌĆÖs taste, and kids sometimes find it slightly overpowering, but adults usually love it, and it works really well with darker beers and red wine.
Meat Age
While dry-aged meat is undoubtedly the best it comes with a word of warning when being used in burgers. If the aged layer on the outside of the beef (itŌĆÖs actually mold, but we didnŌĆÖt want to say that!) hasnŌĆÖt been properly removed and gets into the burger mix, it wonŌĆÖt taste nice. At all.╠²
As beef dry-ages it loses moisture, but moisture in a burger isnŌĆÖt a bad thing. Again it comes down to personal taste, and the butcherŌĆÖs experience and opinion. Dry-aged meat will undoubtedly give a stronger beefier flavour, but drying meat to be used in burger for too long is minimal gain.
╠²
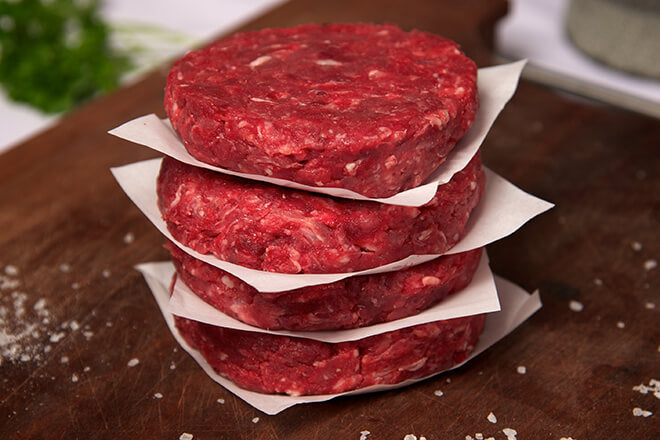
The Grind
The texture of the burger will almost certainly come from the grind. We think the best grind is when the meat goes through a medium plate on the mincer - twice! It depends on the cut, but for chuck and brisket, thatŌĆÖs our preference.
A cheap burger from a big retailer or supermarket will try and hide the amount of fat used by mincing it over and over, until it becomes mush and paste (urgh). Make sure you look on the label - there should be no hiding.╠²
╠²
 ╠²
╠²
We think the best grind is when the meat goes through a medium plate on the mincer - twice!
Fat Content
While you donŌĆÖt want too much (see above), in general, when it comes to burgers - Fat is a Friend. It gives juiciness, it gives flavour, and that is why the beef-to-fat ratio in the minced grind is so important. You want to be looking for around the 80/20 or 70/30 ratio. Depending on how you like to cook and serve, the standard rule is that more meat is better for medium-rare to medium, and more fat for medium-well and well-done. If you like a rare burger, youŌĆÖre definitely better making them yourself with a high meat and low fat content of 90/10.╠² ╠²
╠²
Seasoning╠²
Seasoning is essential to getting a ŌĆśburgerŌĆÖ taste rather than just mince. At a minimum youŌĆÖll need some salt and pepper, but you can include pretty much anything and everything you want depending on your creativity. There are some great ŌĆśoff-the-shelfŌĆÖ dry-mixes out there now too if youŌĆÖre looking for an easy place to start.
If you prefer a more freestyle approach, wet ingredients such as finely chopped onion, ketchup, mustard and Worcester sauce will also make for a juicier burger. ItŌĆÖs really important to make sure the seasonings are dispersed throughout the meat, not just on the surface. To do this, youŌĆÖre best off rolling your sleeves up and mixing the burger mix by hand. Ideally you only want to use your fingertips mixing things in gently so as not to compress the texture or work the meat too much at this stage.
╠²
╠²
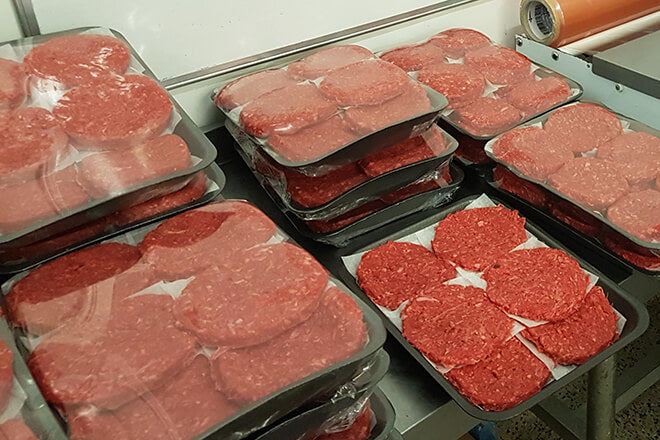
Making and Shaping a Patty
Our top tip for shaping your own burgers at home - is get a burger press. TheyŌĆÖre not expensive, but like most things you get what you pay for. A plastic one will do the job, but if you can, get a proper 6oz/170g handheld burger press. ItŌĆÖll last an age, youŌĆÖll enjoy it during lockdown, and youŌĆÖll look like a pro when guests finally come round to your BBQs again.╠²
A 170g/6oz moulded press is our optimal plate size, as itŌĆÖs the perfect thickness to cook and serve how you like them, getting some bbq charing on the outside and juicy in the middle. Smaller burgers are thinner, and canŌĆÖt really be cooked to liking, especially not medium or medium rare. And bigger burgers are just a bit - big and odd.
If youŌĆÖve not got a burger press, be pretty gentle when shaping the meat. You donŌĆÖt want to overwork the meat, which is why a press is much superior for the job. Divide the meaty mixture into equal portions, forming a loose round ball, about the size of a tennis ball, then gently flatten it until it is about 2cm thick.╠²
Burgers often puff up in the middle when cooking on a high heat bbq and you can get left with a meatball if youŌĆÖre not careful. To avoid this, press a shallow dimple indentation in the middle of each raw burger using your thumb or the back of a spoon. Again, youŌĆÖre better still use a burger press, as that has the indent built in. As the burger cooks on the grill it will fill in and flatten out to a level surface, rather than blowing out.
Burgers often puff up in the middle when cooking on a BBQ...to avoid this, press a shallow dimple indentation in the middle of each one
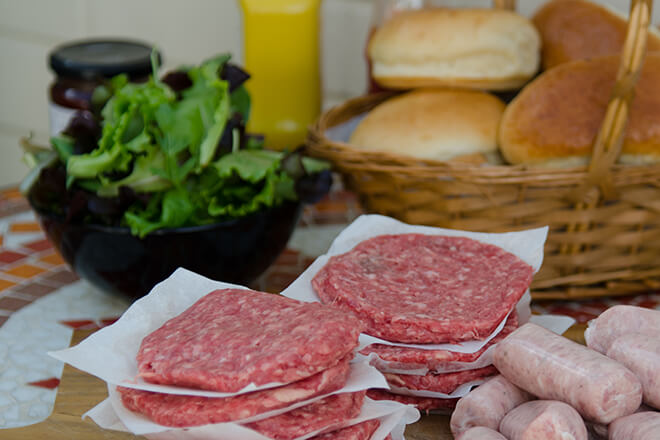
Buns
While brioche was all the rage a few years back, we think theyŌĆÖre just a bit too sweet. A classic white bap from a good local baker is your best bet. You want to match the bun to the size of your burger. If it's too small, itŌĆÖs difficult to eat when youŌĆÖve added salad and condiments. At the same time, too big and you taste too much bread each bite. Toasting the buns on the grill is again personal preference, but easy to burn, so we give it a miss.
╠²
╠²
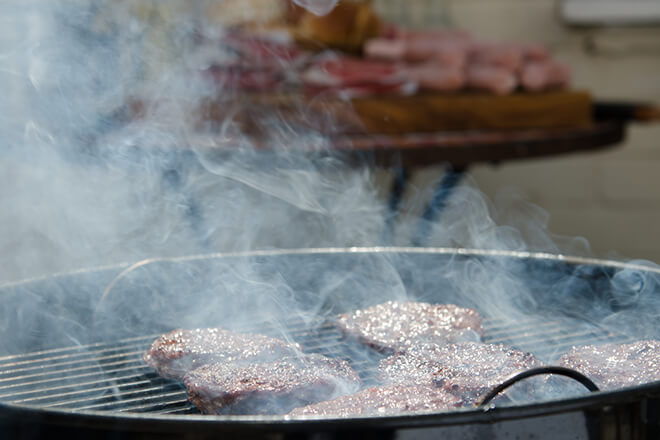
Cooking
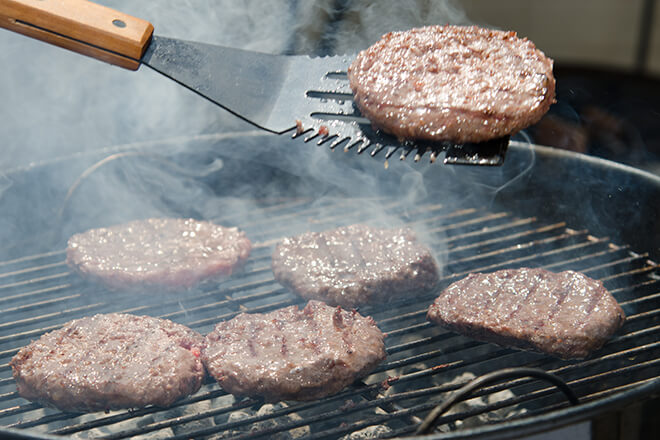
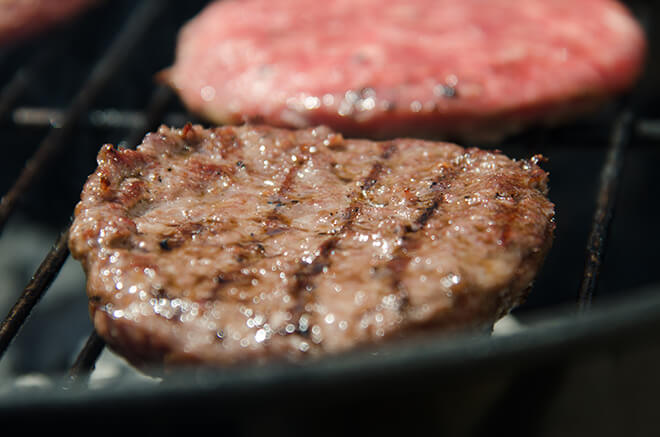
You need to preheat the grill. If you put burgers on a cold grill they will stick to the grate, and you can forget about getting those lovely grill marks we all aim for. You want the grill on the hot coals or burners for at least 10-15 before you start cooking.
You have to treat a good burger on the BBQ with a bit more love and attention, and be patient. For a juicy, medium cooked burger, you want to cook them for about 4-5 minutes each side (8-10 minutes in total), on a hot grill. It is best not to constantly flip the burger. You just want to╠² turn them once or twice otherwise you run the risk of ripping the burger surface before it has formed a tasty crust.
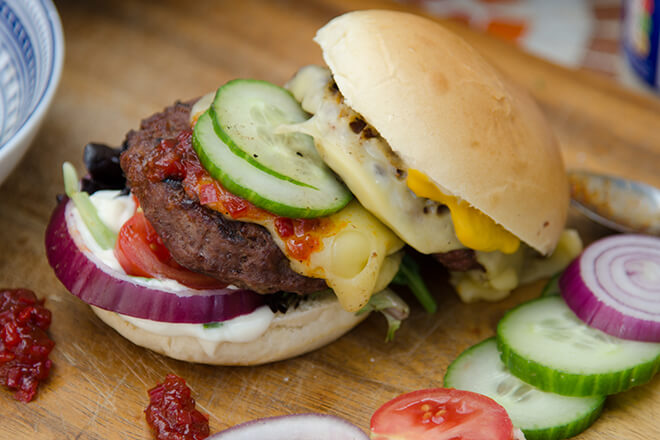
If adding cheese, do this once cooked, and when on cover the BBQ with the lid for about 30 seconds, (or use a heatproof bowl) to allow the cheese to melt over the burger. Take off the grill and pop the patty into the bun.╠²
╠²
For a juicy, medium cooked burger, you want to cook them for about 4-5 minutes each side
---
So there you have it. ThatŌĆÖs our butcherŌĆÖs guide to perfect lockdown burgers. Enjoy with the family. Think of your friends. And almost certainly enjoy the beefy flavour with a nice cold drink!╠²
╠²
]]>

 ╠²
╠²


 ╠² ╠² ╠²╠²